Pick the Perfect Lav Mic Placement
With the increasing focus on sanitation standards and precautions around handling and sharing microphones, self-miking by the talent may be a new challenge for audio professionals to manage. Whether you’re an audio novice just learning about body-worn miking techniques or you’re a performer or presenter that chooses to self-mike, there are key considerations to keep in mind with the different lavalier miking options to choose from.
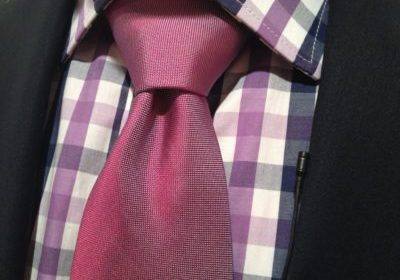
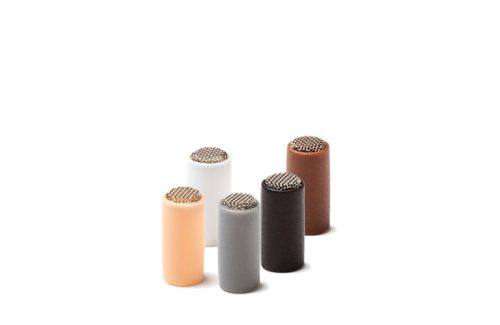
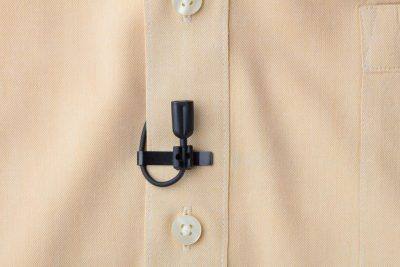
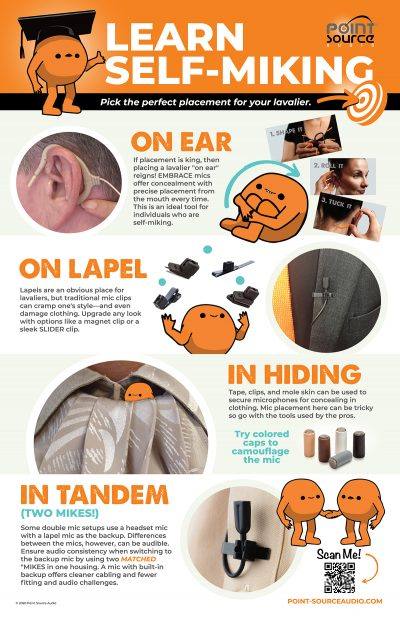
4 Common Methods of Lavalier Mic Placement

Lavalier Microphone Placement, Placement, Placement!
In real estate, a well-known catchphrase used by property experts is that the three most important factors in determining the value of a property are "location, location, location". In miking, we can apply a similar mantra by changing this up to “placement, placement, placement”.
For the best microphone performance
Start with the first rule of thumb:
Place the microphone as close to the mouth as possible.
A mic close to the sound source is a basic tenet for getting the highest gain (volume) into the microphone. The strong audio signal helps to masque out undesirable inherent noise from the body-pack, receiver, sound console and more; or from outside sources such as air conditioning, wind noise or adjacent talkers.
The smallest movement away from the mouth exponentially weakens the voice signal entering the microphone (Inverse Square Law) so it is also important to keep this distance consistent as well as close; i.e., don’t move the microphone or have the user turn their head out of the pattern of the microphone once it is set into position.


